Empenage. I bought a new one for the empenage - "RV -4 Fairing Subkit". The fairing i bought from Van's wont fit..
The Horizontal Stab line is about 3/4 " too high meaning it wont line
up. Essentially it is designed for a larger diameter than the RV - 4.
To trim it would mean the HS trim flanges would meet up about 5 inches
aft the trailing edge. The top fairing for the rudder / Horizontal stabilizer has F - 868 marked up on it and is nowhere close to fitting on the RV - 4. Is it possible Vans accidentally sent me the empenage fairing for an RV - 8 ? Even if they did I would expect the two to be more or less congruent.
The fairing subkit comes with all the fairings except the gear legs. The glass work is miles better than the original kit.
Gear Leg Fairings :
I bought some epoxy from :
Fibreglass and resin supplies
Charlie Irwin
111 kew St
Welshpool
08 9361 8316
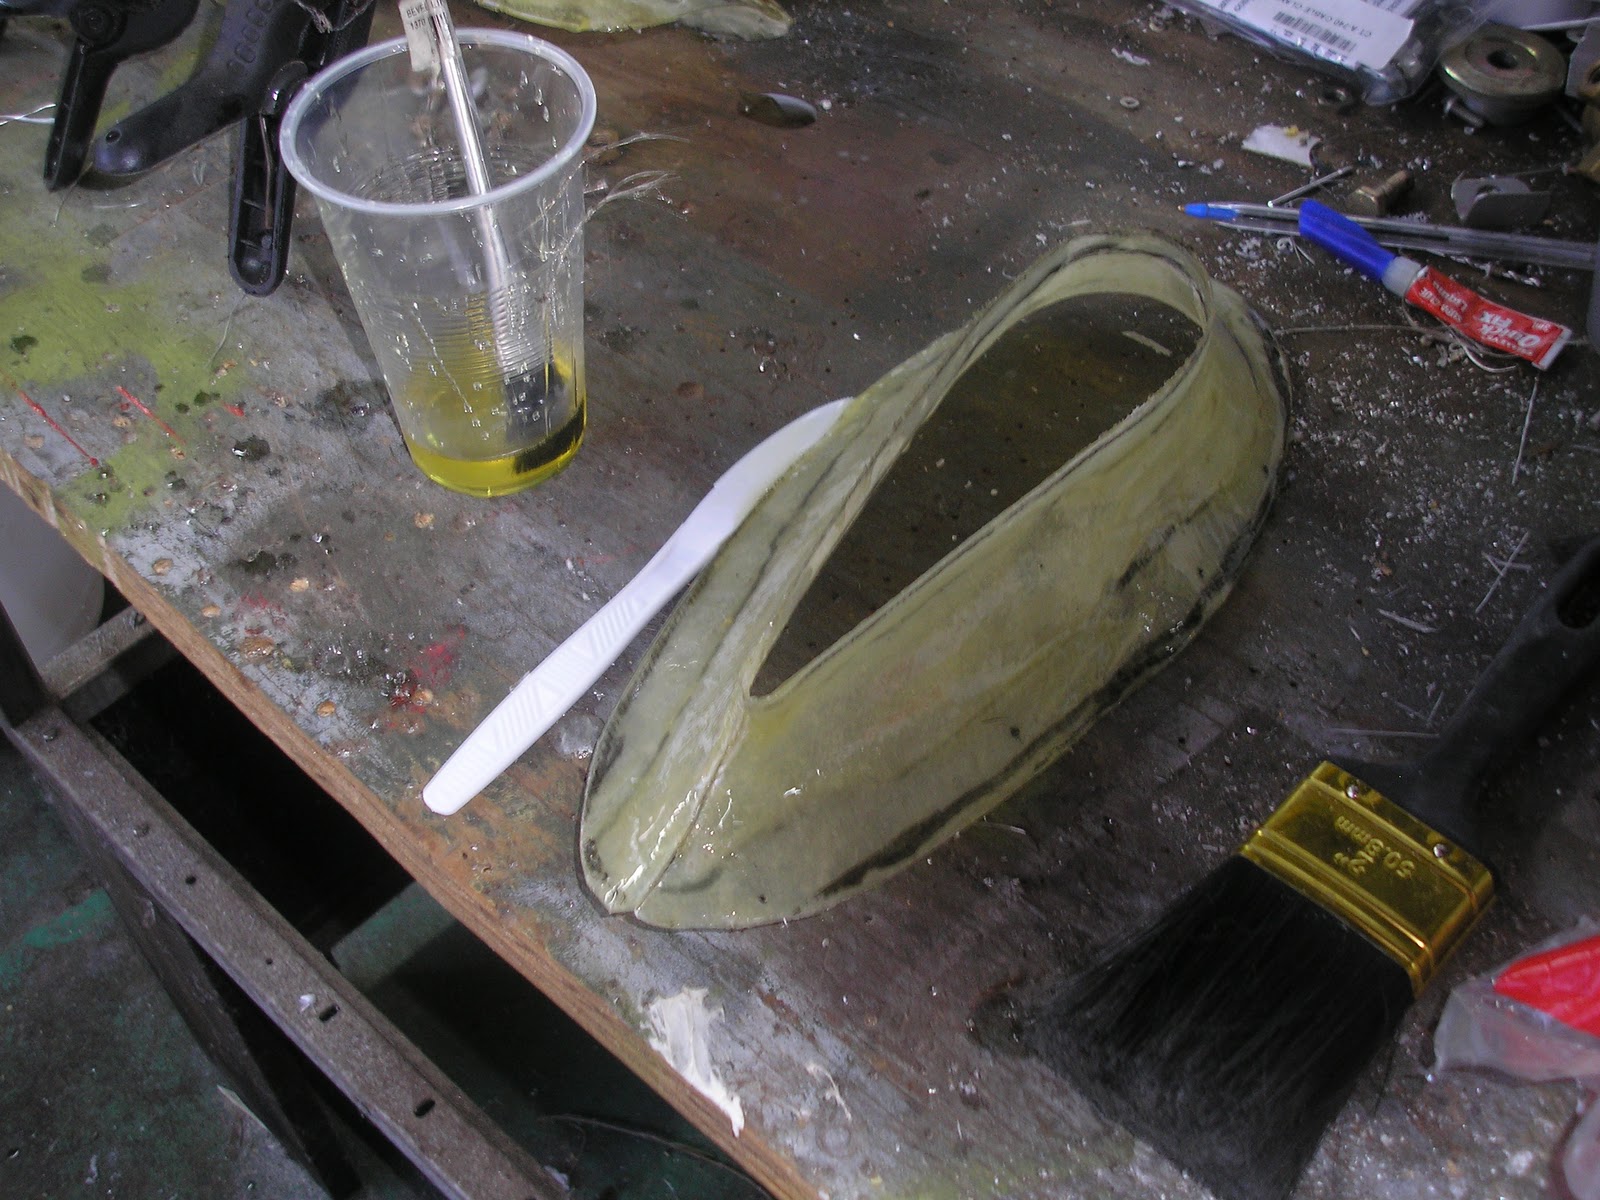
Charlie sat me down and told me how to use the epoxy emphasizing temperature above 15C and to get the ratios as accurate as possible. The analogy he uses is nuts and bolts a surplus of one leads to unwed units of the other.
I taped and Plasticined the contours on the cowl to gear leg fairings. This is prior to sculpting with a half moon shaped plastic card. Still pretty bumpy.
UPDATE: I completed the glass work on the fairings this weekend. What remains to be done is to use a filler on the fairings to make the surface smooth. I will do this at the same time as I glass the air scoop onto the bottom of the cowls. The only nasty thing about the job was removing the wretched aluminum tape from the components - it sticks like crazy and fragments when you go to peel it off. I busted a fingernail on the job.
It proved to be quite easy except that the aluminium tape is a mongrel to get off - a real nail buster. Fairings half done - need to get countersunk washers and fixings for the upper fairings - these will probably be blind - maybe a job for rivnuts? Also need to use body filler for the aesthetic smoothness.
Conclusion.
This job is time consuming and messy. Now I would DEFINITELY buy them and save the time. I am however satisfied that I learned a bit about glassing. I would hate to have launched into glassing on the new airscoop with out doing this job as a primer. Now I am fairly confident I will get a satisfactory job done and not risk having to order a new cowl by stuffing the job up.
I would hate to build a whole airplane out of the stuff.
Persevered with the wretched things with lots of sandpaper and sitting round on the front porch.
They don't look to flash but neither Kayt nor I could be arsed with them any more.